Terra-cotta saucers will make a beautiful and functional counter herb garden. These are great for holding the herbs, and are inexpensive as well. The smallest one can hold small scissors that are useful for cutting the herbs. Tie all the cans together with a piece ribbon and attach plant labels. An old fork tine can also be used to insert a greeting.
Countertop herb plants require minimal maintenance. To give them even more sunlight, you can keep them in the hottest spot on your counter. Different herbs need different watering times, so make sure to change them every few days. To get the best results, you can always hire a professional herb-grower if you don't have the skills. This will make it easy to maintain your herb garden at home and allow you to enjoy the fresh flavor of your food.
You need a container that can drain well to begin a counter herb plant. It is important to not plant the herbs too tightly. They need room to breathe. Also, water your herbs every day and allow them to dry out before you plant new ones. You can rinse them off with a hose. This will help keep your herbs healthy. Plant new plants approximately every four weeks.
Depending on which kind of seeds you are using, the process of sprouting herbs takes approximately three weeks. After they're ready to go, you will need remove the plastic and put them in a sunny location. They need to be watered at least once per week. If you don't have time, you can sprout them in the refrigerator. Your herb plants will grow if you are patient.
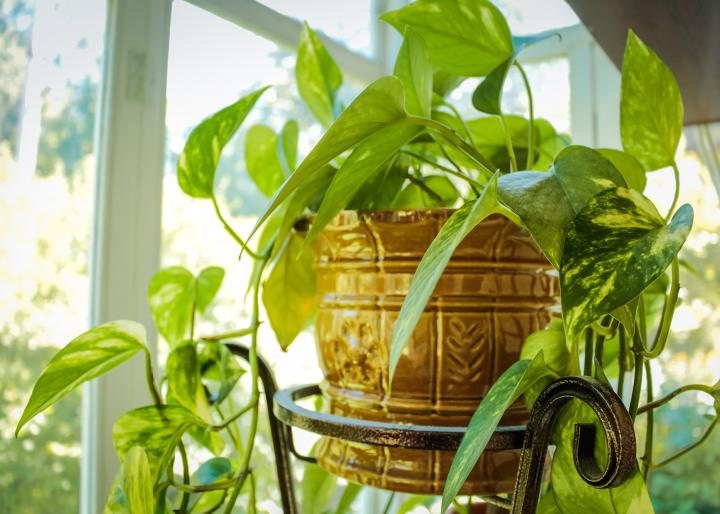
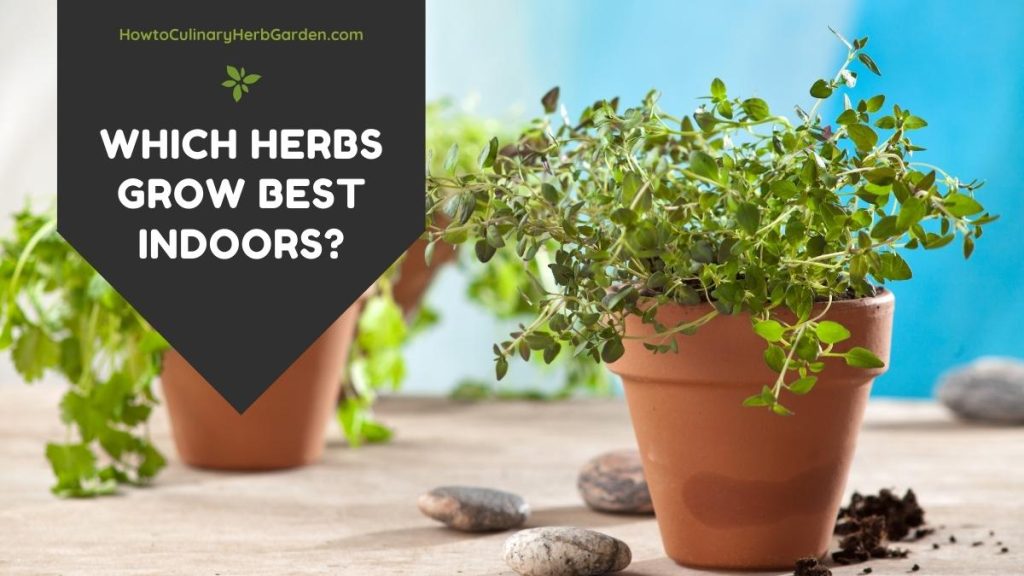
A kitchen is a great place to start a counter herbgarden. You can also plant herbs in a mini tin bucket on your windowsill. Indoor gardening is another option. You can grow herbs in pots, or in containers with windows. To ensure their health, it is important that herbs get enough sun every day. However, if you want to grow them indoors, you should consider using an artificial lighting source.
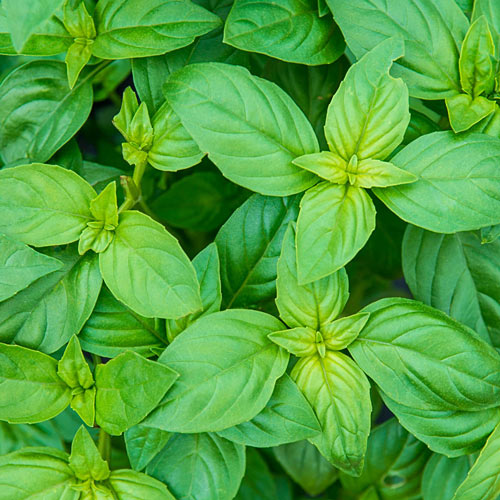
This DIY indoor kit will allow you to create your own counter herb garden. With the LED lights that shine directly onto your counter, you can grow herbs all year. Counter herbs are easy to grow indoors. This means you can grow fresh basil whenever you like. It may take a while to see the results, but the benefits are well worth the time spent. You won't run out of fresh basil ever again.
FAQ
When is the best month to plant a vegetable garden in my area?
The best time to plant vegetables are from April through June. This is the best time to plant vegetables. The soil is warmer and plants grow faster. If you live in a cold climate, you may want to wait until July or August.
What is the best way to determine what kind of soil I have?
By looking at the dirt's color, you can tell. More organic matter is found in darker soils than in lighter soils. A second option is soil testing. These tests determine the amount of nutrients in the soil.
Can I grow vegetables inside?
Yes, it is possible for vegetables to be grown inside during winter months. You will need to buy a greenhouse and grow lights. Before you do this, make sure to verify the local laws.
Statistics
- According to a survey from the National Gardening Association, upward of 18 million novice gardeners have picked up a shovel since 2020. (wsj.com)
- As the price of fruit and vegetables is expected to rise by 8% after Brexit, the idea of growing your own is now better than ever. (countryliving.com)
- According to the National Gardening Association, the average family with a garden spends $70 on their crops—but they grow an estimated $600 worth of veggies! - blog.nationwide.com
- Today, 80 percent of all corn grown in North America is from GMO seed that is planted and sprayed with Roundup. - parkseed.com
External Links
How To
How to apply foliar fertilizers
Foliar fertilizers can be applied directly to plants' leaves by spraying. They provide nutrients for the plant as well as improving photosynthesis, water retention, disease resistance, protection against pests, and promote growth and development. They can be used to treat all plants, including fruits, vegetables and flowers as well as trees, shrubs, lawns, and grasses.
Foliar fertilizers do not pose a risk for soil pollution. The fertilizer required depends on the type and size of the plant as well as how much foliage it has. Foliar fertilizers should only be used when the plant is active growing. This allows them faster to absorb the nutrients. Follow these steps when fertilizing your garden.
-
Make sure you know what kind of fertilizer you need. Some products contain just one nutrient. Others include multiple elements. Ask your local nursery if you don’t know what product you need.
-
Please read the instructions carefully. Before applying, please read the label. Spraying near windows or doors could cause damage. Keep away from children and pets
-
If possible, attach a hose to the nozzle. To avoid spraying too much, turn off nozzle after every few sprays.
-
Mixing different types is a dangerous thing. Mixing two kinds of fertilizers can lead, among other things, to burning or staining your leaves.
-
Spray at least five to six feet from the trunk. You should leave at least three feet between the tree trunk and the edge of the area where you plan to apply the fertilizer.
-
Wait until the sun goes down before applying. The sun causes light-sensitive fertilizer chemicals to be broken down by sunlight.
-
Spread the fertilizer evenly over the leaves. Spread the fertilizer evenly over large areas.
-
Before watering, let the fertilizer dry completely.